Grids Bubble
Toggle which grid end shows a bubble in the active view. Keep this window open and continue interacting with Revit-pan/zoom, change selection, or undo-then run it again as needed.
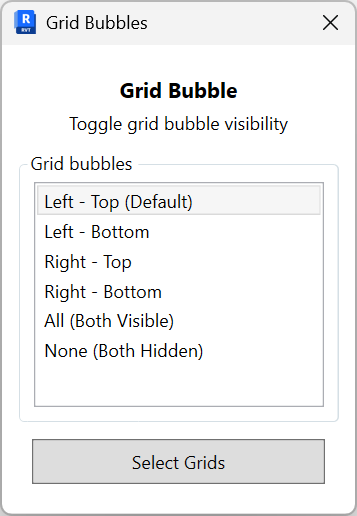
- Pick a bubble option.
- Left - Top (Default) - show bubble at the left end of vertical grids / top end of horizontal grids.
- Left - Bottom - show bubble at the left or bottom end.
- Right - Top - show bubble at the right or top end.
- Right - Bottom - show bubble at the right or bottom end.
- All (Both Visible) - show bubbles at both ends.
- None (Both Hidden) - hide bubbles at both ends.
- Select Grids. Click Select Grids and pick the grids to update in the active view.
- Apply. The chosen visibility/position is applied to all selected grids. Use Revit Undo to revert the last change.
Notes: Changes are view-specific and do not move grid lines-only end bubbles. For slanted/rotated grids, "Left/Right" and "Top/Bottom" are interpreted relative to the current view.